Advent of Cyber 2 | Day 3 - Christmas Chaos | TryHackMe Walkthrough
In the Christmas Chaos scenario, you are challenged to recover the control panel for Santa’s sleigh after it has been compromised by a rouge actor. This challenge gives us practical experience using Burp Suite and FoxyProxy to intercept packets and an understanding of simple web authentication.

In the Christmas Chaos scenario, you are challenged to recover the control panel for Santa’s sleigh after it has been compromised by a rouge actor. This challenge gives us practical experience using Burp Suite and FoxyProxy to intercept packets and an understanding of simple web authentication.
If you haven't completed the Day 1 challenge yet, give it a try then read my write up of it here.
For this challenge there are only two tasks, the first of which doesn’t require an answer.
To begin, deploy the machine for this room and connect to an AttackBox or the THM OpenVPN in your own pen testing environment.
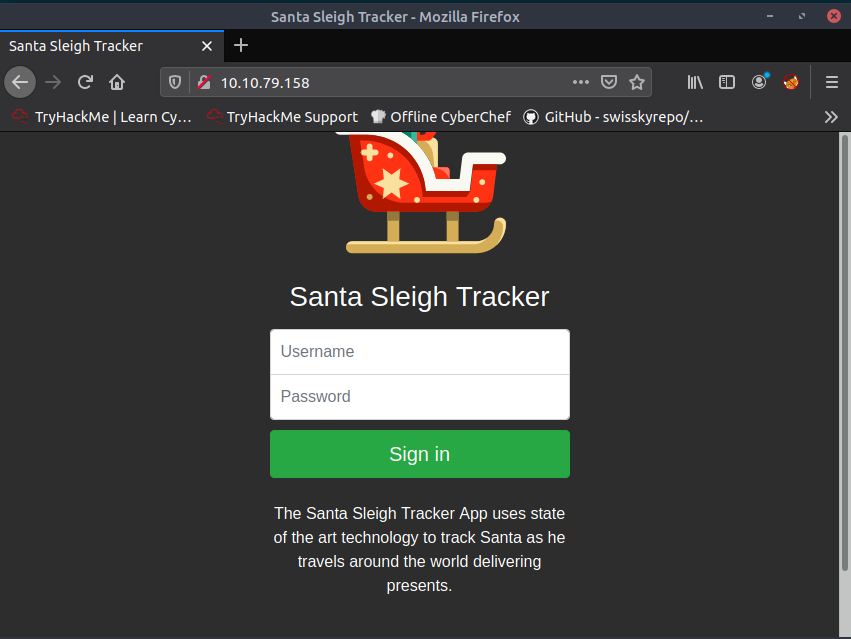
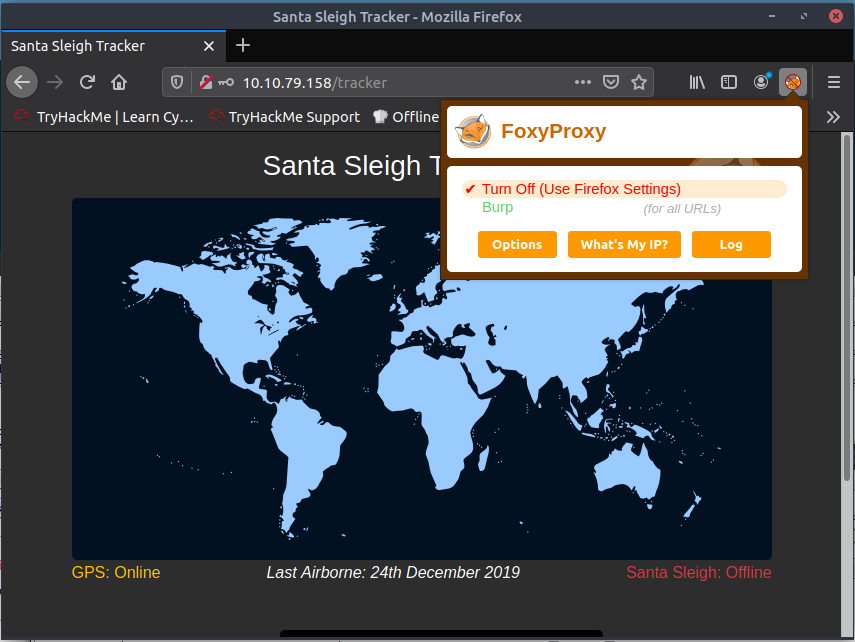
Once the deployed box has loaded, navigate to the boxes IP address in a web browser. You should be greeted with a web page for 'Santa Sleigh Tracker'.
For this task we need to regain access to the platform, but we don't know what any of the credentials are. The goal of this room is to learn about dictionary attacks, which means testing from a range of potential variables in a list - aka the dictionary. Performing such an attack on a website comes in a few steps, beginning with intercepting packets. To do this we will use Burp Suite. Launch Burp Suite (found on the right hand side in the AttackBox or search for it in Kali).
Select 'temporary project' then navigate to the intercept tab and ensure intercept is set to on.
Next, we need to give Burp Suite access to the packets by changing the certification. This can be done by manually creating a proxy within the browser settings and uploading a Burp certificate, however the FoxyProxy browser extension makes this much easier, with a Burp setting already pre-configured in the AttackBox. Click on the FoxyProxy browser extension icon (right of the URL bar) and select Burp from the options. Then enter any combination of username and password into the boxes and hit 'Sign In'. The combination isn't important as when we submit the request, Burp Suite will hold the request.
ff:ff
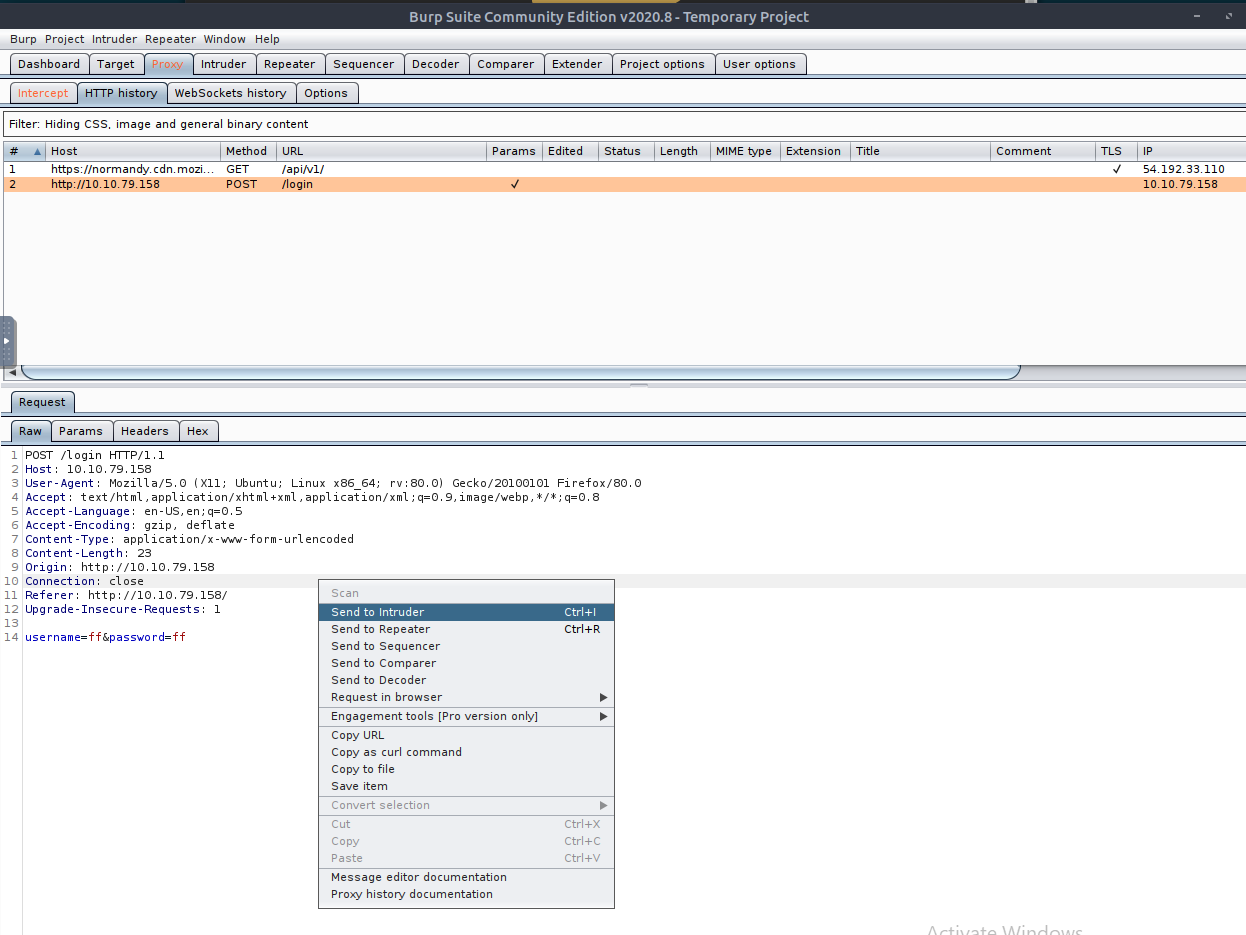
Next, in Burp Suite navigate to the 'Proxy' tab. If you click on the 'HTTP history' tab and select the POST request to the '/login' route. You will see in the request dialogue at the bottom at line 14 shows our username and password. If we right-click anywhere in this section and select 'Send to Intruder' we will be able to interact with the request and add variables for our dictionary attack.
When Burp Suite receives the request in the Intruder tab, it automatically detects the username and password section as areas of interest and sets variables there for us. Using these variables we can repeatedly attempt to break the site using any combination of the values contained in our dictionary.
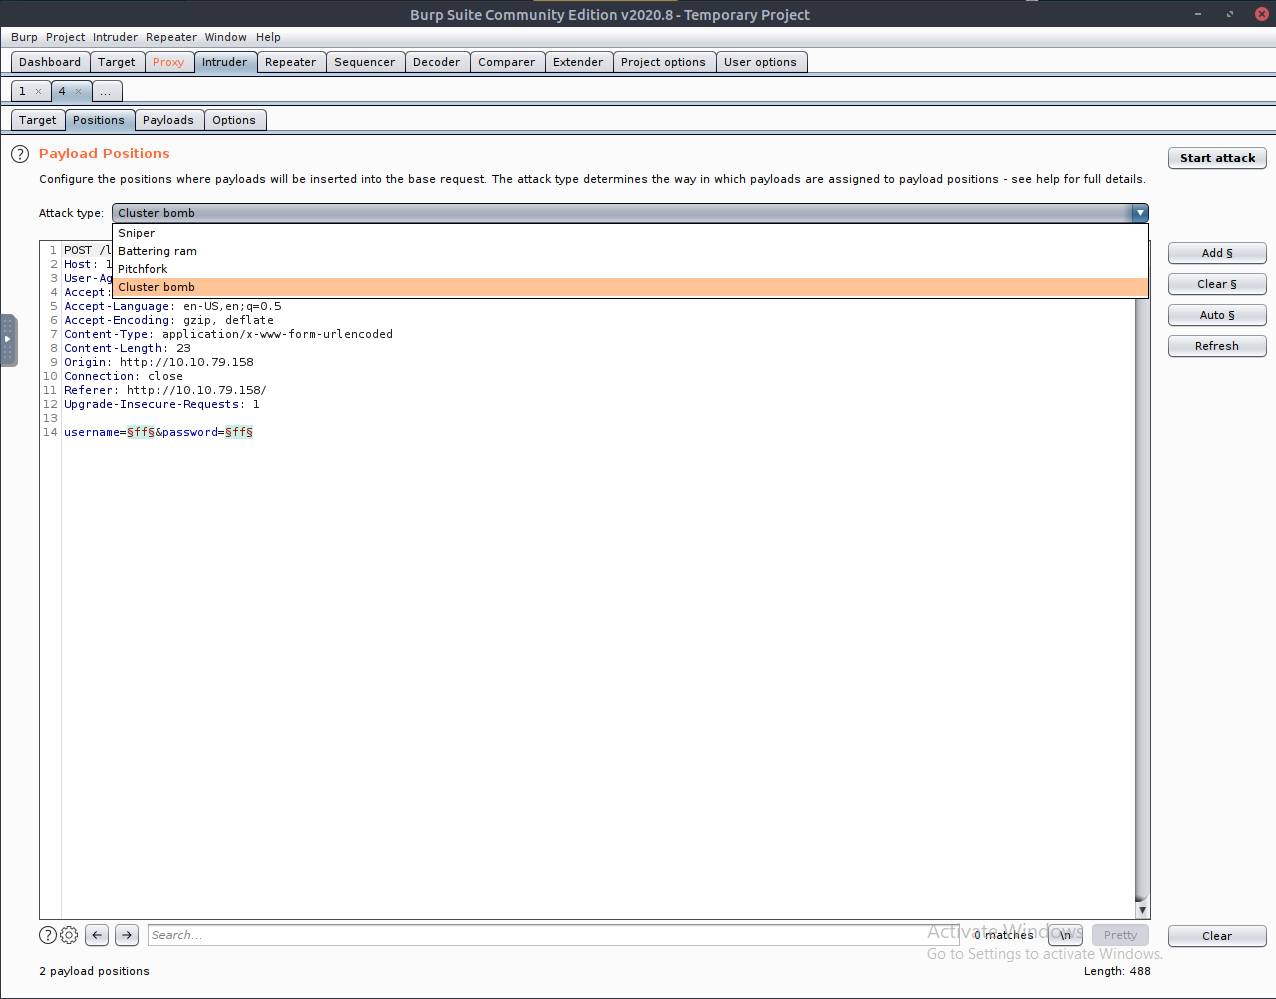
Set the 'Attack type' dropdown to 'Cluster bomb', as this type gets Burp to try every payload combination. Then navigate to the payloads tab so we can set the payload. Per the story of this attack, we would now research online to attempt to find a possible default credential list for this platform. As this is a simulated exercise and not a real platform, we have been provided with a list of possible usernames and passwords. This list is short, most likely for ease of use and brevity, however in real world situations the list could be far longer - resulting both in longer execution times and greater possibility of detection.
In the Payloads tab there are two payloads we need to set, one for the usernames and one for the passwords. The order of the payloads is chronological so because our username field is first in the request, list the three usernames into the payload box, by entering one at a time into the text box and selecting Add. Once the usernames have been done click the 'Payload set' drop down and select 2. Then repeat the process for the passwords. This is the final part of the attack finished from our perspective, click back to the Positions tab and hit 'Start Attack'.
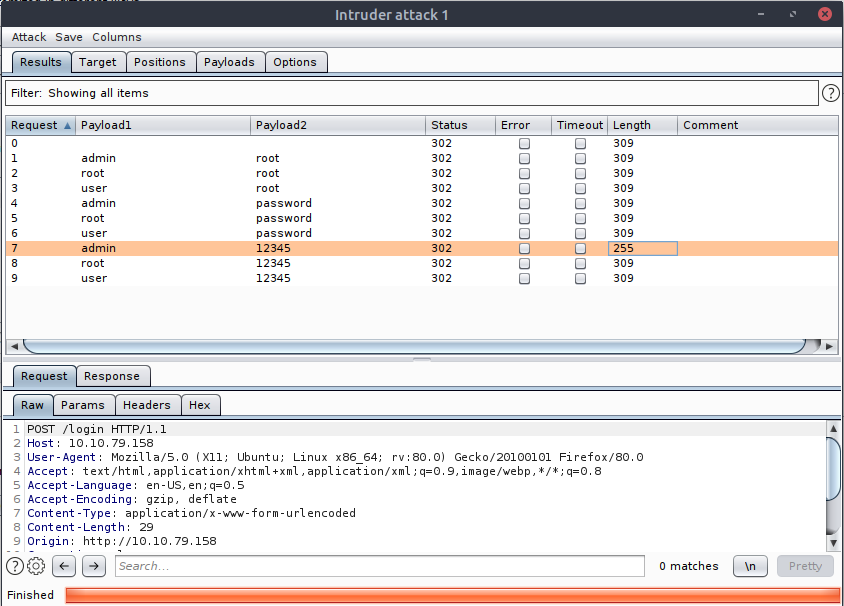
Once the attack has run you will see a window like the above displaying a list of all combinations tried. This list includes all attempts, meaning successful attempts may be buried in the list. It is easy to see that one of the combinations returned with a length different to the rest, but with a larger set of credentials clicking the Length column title allows us to sort by value.
Returning to the browser and setting FoxyProxy to off (or alternatively stopping intercept in Burp Suite), enter the credentials with a different length and you will be greeted with a dashboard page.
Scroll down and you will find the final flag.