The easiest way to verify files integrity on Windows
Integrity checking files - or checking against a provided hash value is a common and easy way to be certain a file or program has not been tampered with or perhaps damaged during download and transmission.

Easily check and verify files and apps haven’t been compromised using MD5 and SHA checksum with this simple command-line utility.
Integrity checking files — or checking against a provided hash value is a common and easy way to be certain a file or program has not been tampered with or perhaps damaged during download and transmission.
What is a checksum?
A checksum hash-value for a given file is a cryptographic representation of the file in its exact state, meaning that even small changes such as adding or removing a single character will completely change the checksum value — making it overt if any changes have been made to the file.
How important is a checksum?
Even a small change to a file will make the checksum completely different, as the hash will produce a different output. Here is an example of a very small difference in the file contents results in a completely different checksum value.
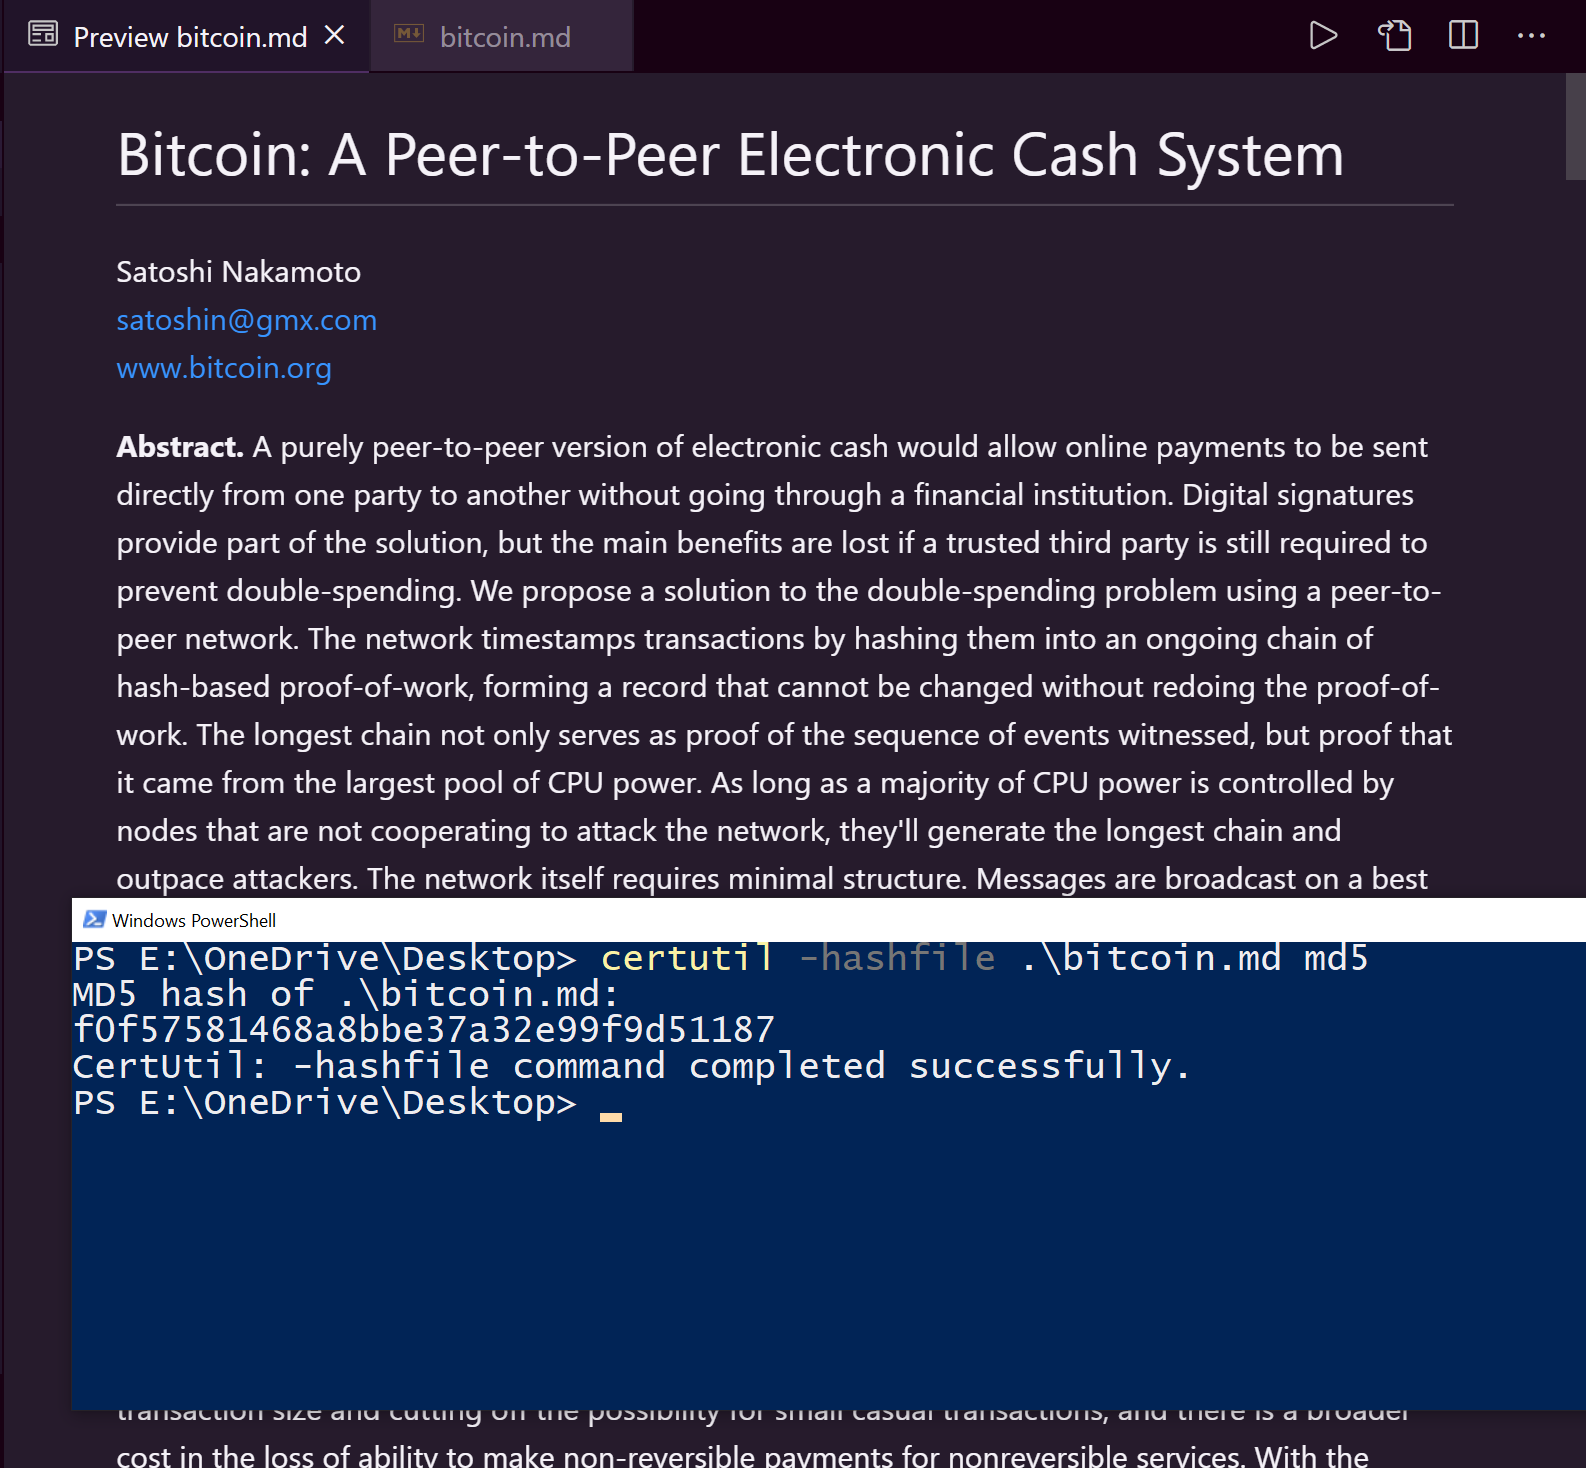
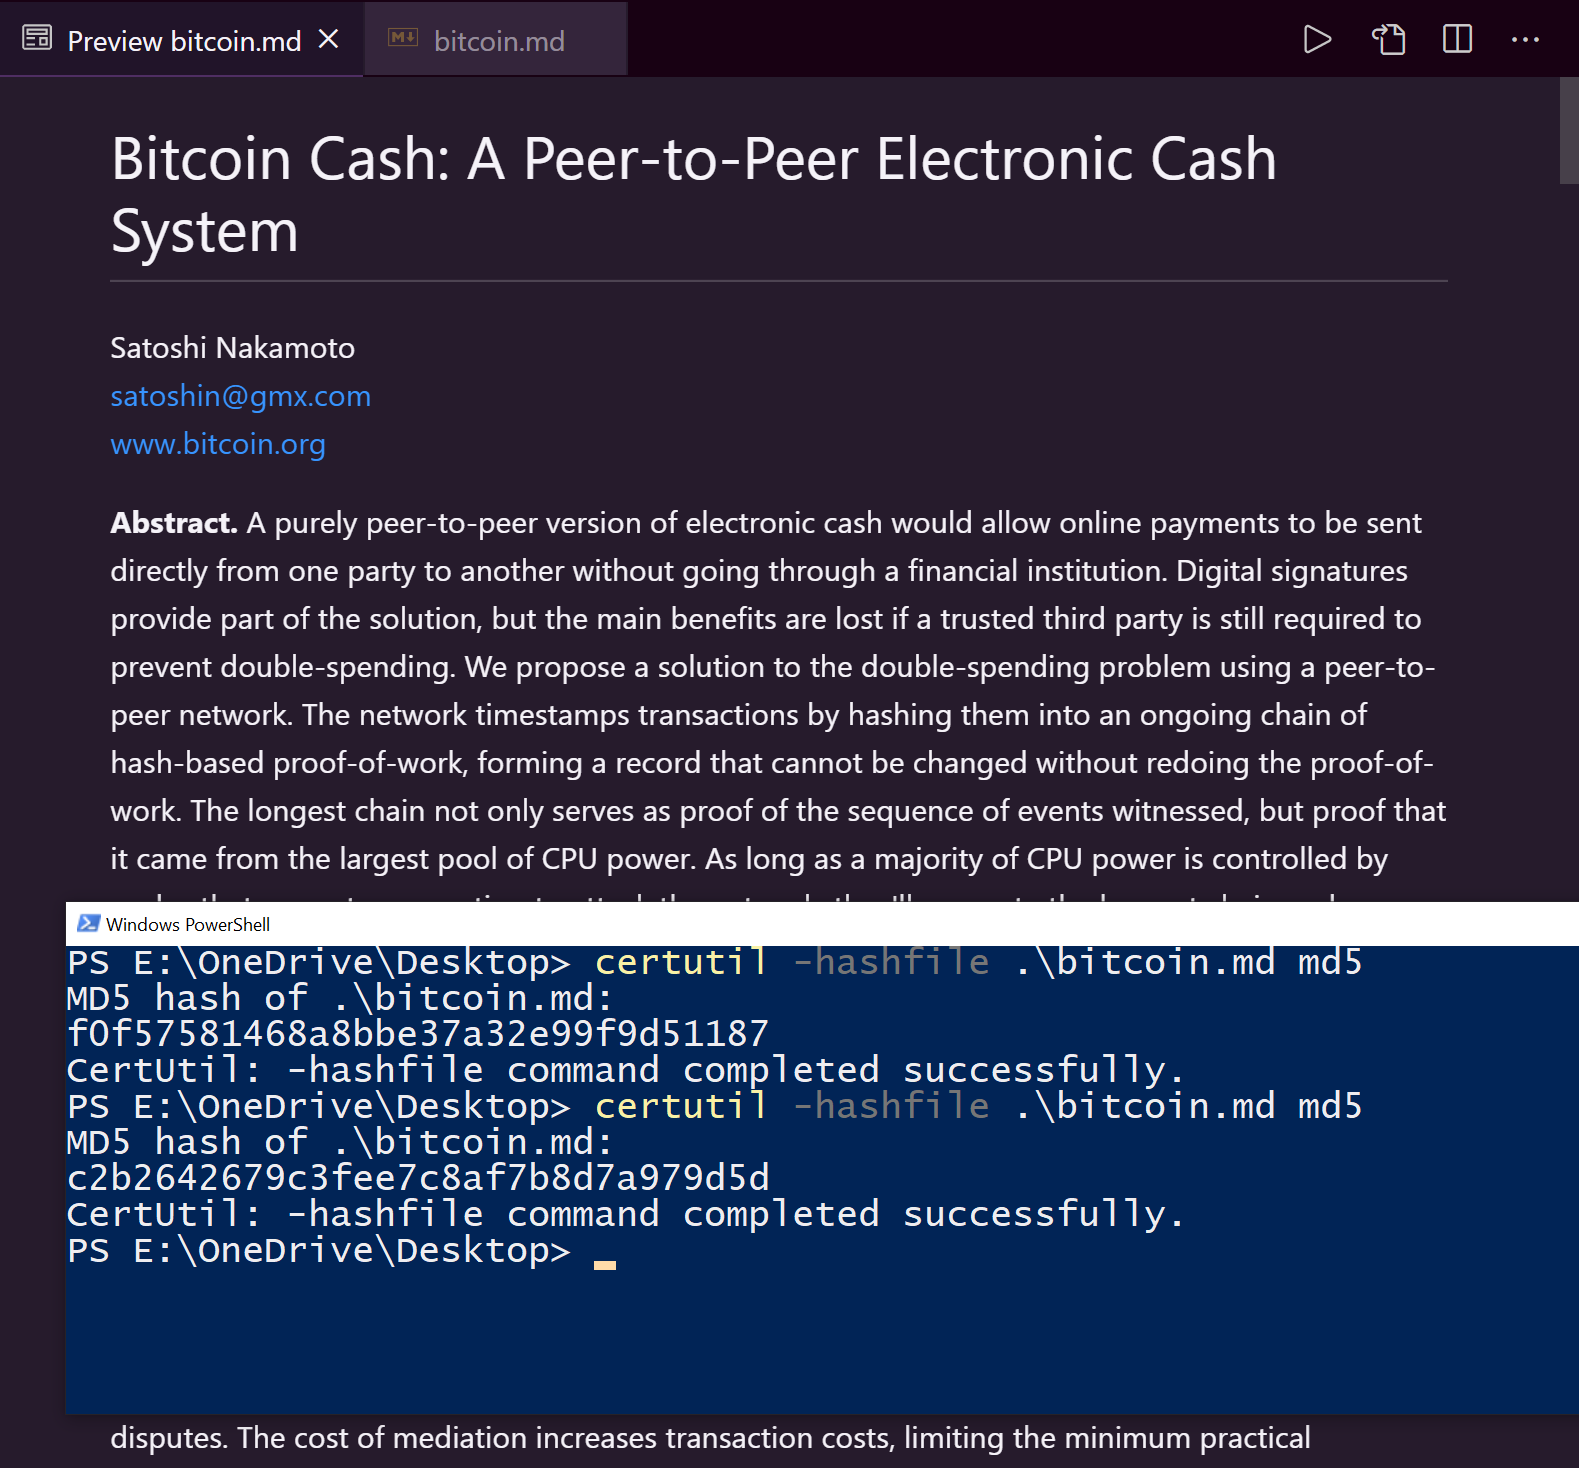
Example of how a simple change affects the checksum.
In the image on the left, you can see the checksum value created for the original, unedited file is ‘f0f5758146818bbe37a32e99f9d51187’. In the second image, a small defacement easily missed by many was made to the title, the word ‘Cash’ is added. This is the only change made to the whole file. Despite this, the checksum hash returned is radically different, outputting (the second output in the image on the right) ‘c2b2642679c3fee7c8af7b8d7a979d5d’. With the checksum being completely different, this makes for a quick and easy way to determine if files have been compromised or changed.
How to check this on Windows
There are many tutorials and how-to guides that suggest downloading and running third-party software to perform integrity checks on windows, yet there is a much simpler method: the certutil command.
Using a command built into Windows offers many advantages, namely no need to source software across your network and more so this utility can easily be added to PowerShell scripts for automation of this process.
Using certutil is straight-forward. Simply open Command Prompt or PowerShell and type ‘certutil -hashfile [file_name] [hash-algorithm]’ replacing with the respective filename and the hashing algorithm you will use. If you are downloading software from an external source, it may list a checksum for you to use, in which case it is important to set CertUtil to use the same hashing algorithm. If you are using the tool on files yourself, the choice isn’t so important as long as you are consistent in the algorithm used.
certutil -hashfile [file_name] [hash-algorithm]Here is an example of a download page listing a checksum value. I had to click a link first to view the checksum, which is common on download pages. The checksum value here is SHA256.
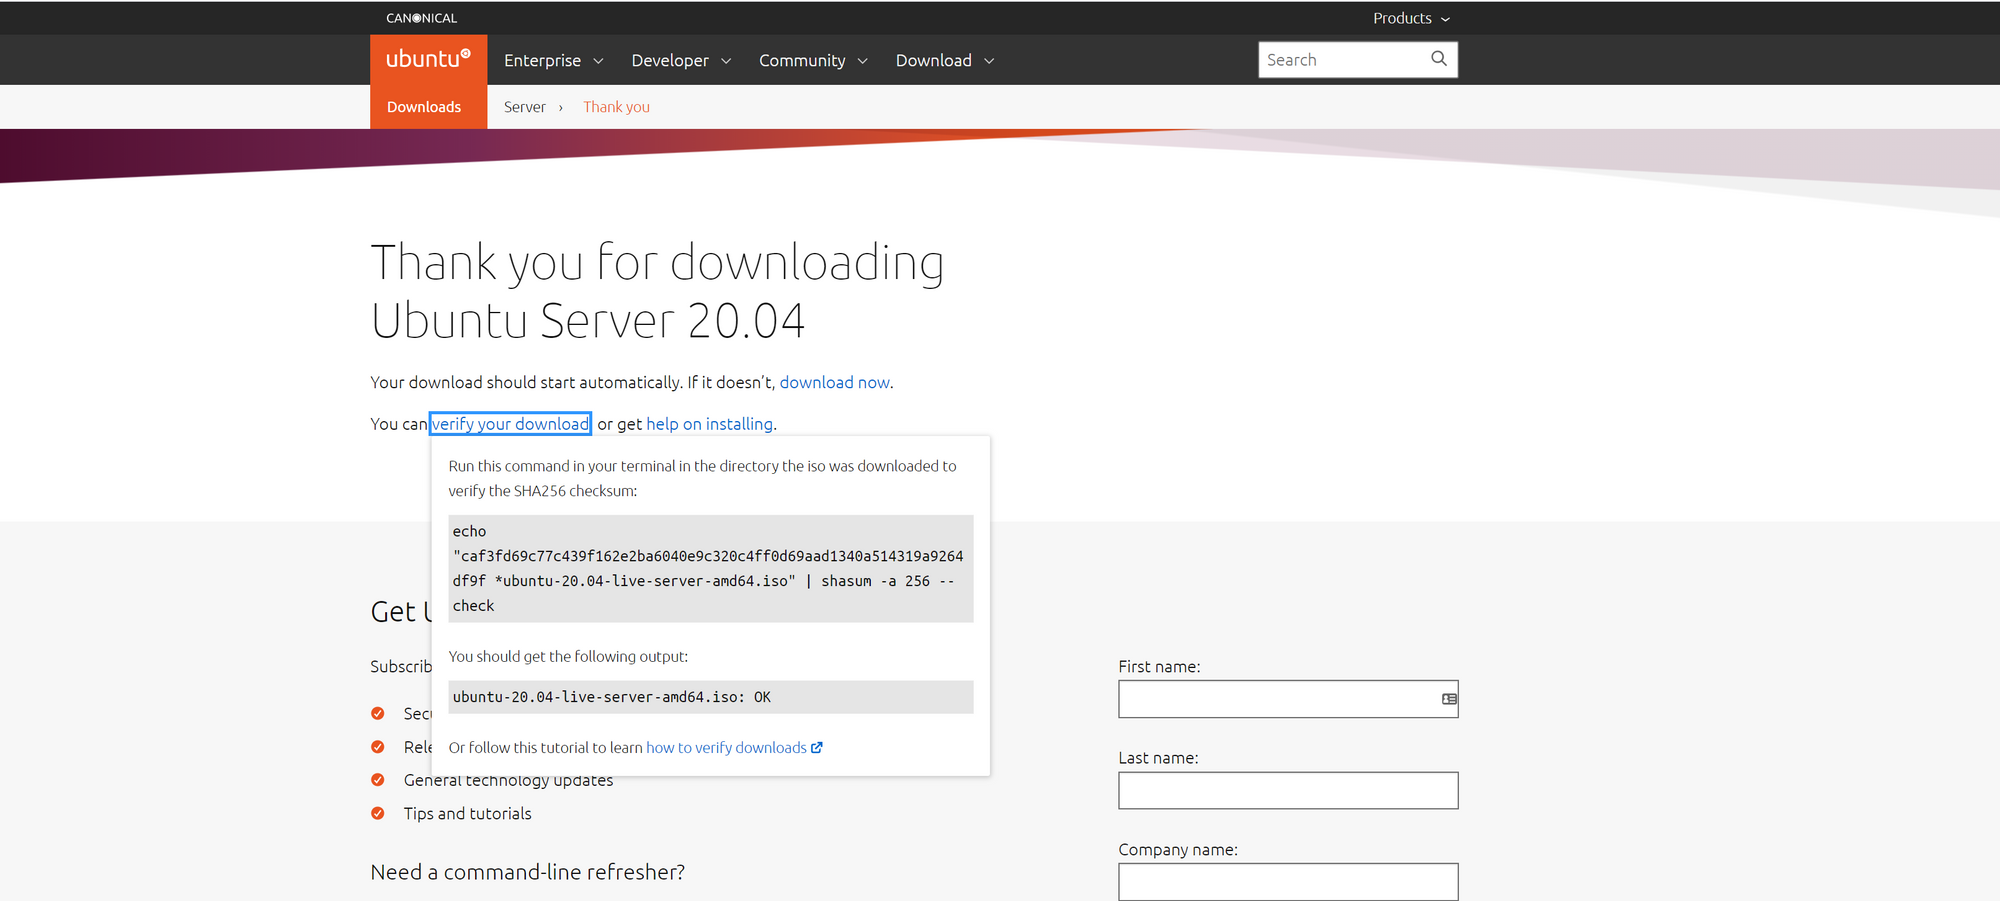
Running the CertUtil command with ‘sha256’ at the end of the string runs the utility with the same hashing algorithm as the checksum provided on the Ubuntu website. Then compare the two values we can see checksum values are identical so this file's integrity has been proven.

Furthermore, this process can be automated in a script if need be, including the automation of checking the value to prevent the risk of human error when reading and comparing two values.