How to create a profile readme on GitHub
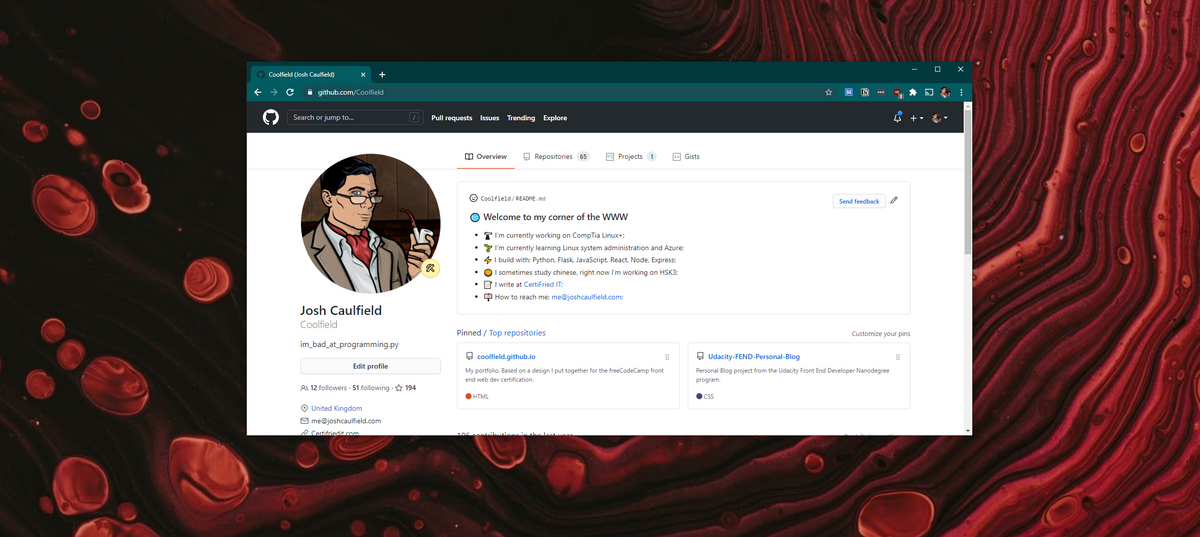
With renewed efforts to innovate and ship new features following their acquisition by Microsoft, GitHub quietly launched one of their most loved features yet — personal readmes.
Personal readmes are markdown files that display front and centre on your GitHub profile, allowing you to introduce yourself with more freedom than your profiles bio allows.
How to make it
Creating a profile readme is simple — just create a new repository and give it the same name as your username.
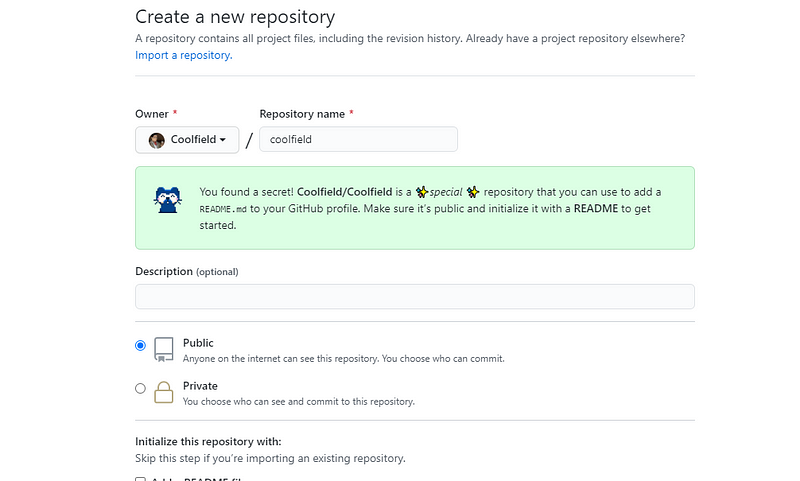
Make sure the repo is set to public and check the ‘Add a README’ box before creating the repository.
Customising your readme
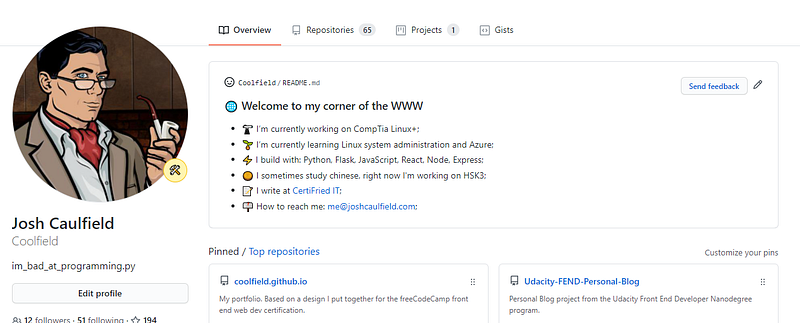
When the new repo is first created, you’ll find some questions to answer inside a comment. You can answer these, making sure to delete the start and end of the comment before saving — or delete and write what you want. Once you commit the changes they will be live on your profile for any visitor to see.
Profile readmes also support images, links, GitHub action workflows, and more.
More inspiration
For more inspiration, I compiled a list of my favourite profile readmes here:
